

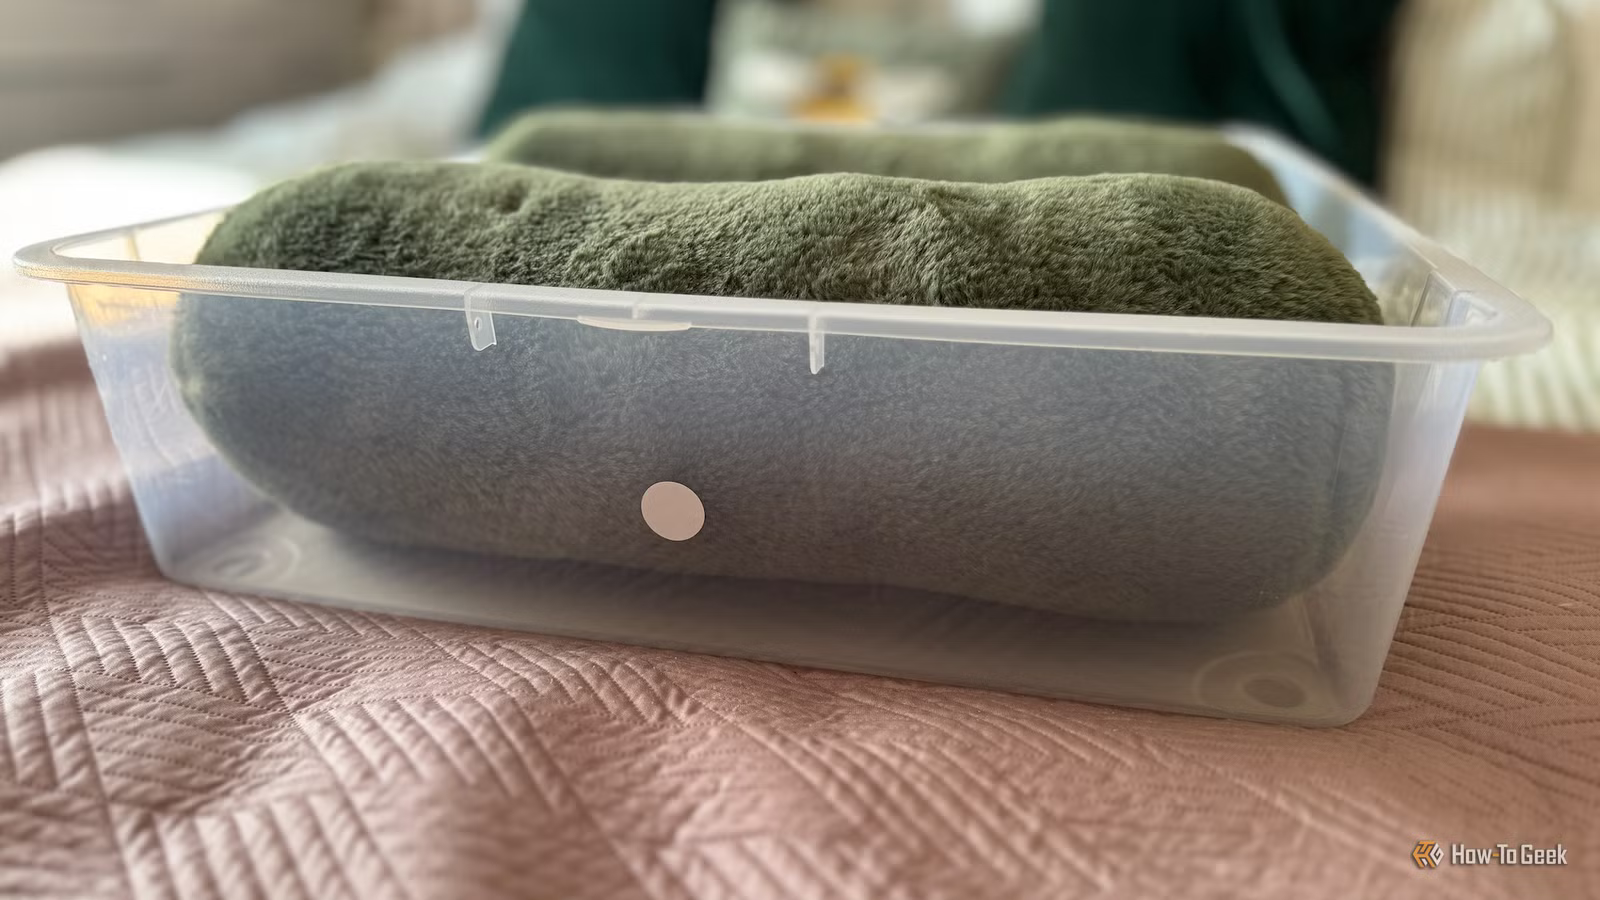
As a family with kids, we have far more stuff than can comfortably fit in our home. Thankfully, there’s a useful attic where we can dump stuff when it’s not in use. In the past, finding things in the attic involved hunting through multiple storage bins, but some cheap NFC tags solved the problem.
Home Assistant’s to-do lists were the perfect fit
Native local lists for each storage bin
Credit: Adam Davidson / How-To Geek
The idea was simple. I wanted to stick an NFC tag to each storage bin and be able to scan it to see what the bin contained. I also wanted to be able to quickly add or remove items from the list if I took stuff out or added more stuff to the storage bin. I could have used a third-party app such as Notion to store the information, but I wanted to keep everything local.
Home Assistant’s native to-do lists seemed like an ideal fit. You can create as many different lists as you want, so I would be able to set up a list for each bin. You can easily add items to the lists in Home Assistant and check items off when they’re no longer in the bin.
I created a couple of lists and named them Storage Bin 01 and Storage Bin 02. I used a text helper to give them human-readable labels of “Winter Clothing” and “Christmas Decorations.” This meant I’d be able to rename them if necessary without changing the entity ID and potentially breaking any automations.
Dimensions (exterior)
4.41″L x 4.41″W x 1.26″H
Weight
12 Ounces
Home Assistant Green is a pre-built hub directly from the Home Assistant team. It’s a plug-and-play solution that comes with everything you need to set up Home Assistant in your home without needing to install the software yourself.
Building the dashboard
An index and a sub-view for each bin
Once I’d created my lists, the next job was to create the dashboards that would display the lists and allow me to add and remove items quickly and easily. I decided that the best option was to have a main page that showed all the storage bins, with sub-views for each individual bin. Clicking a bin on the main page would take me to the relevant bin.
I ended up using Markdown cards for the main dashboard, since they let me pull the human-readable names for the storage bins using{{ states(‘input_text.bin_01_name’) }}. The card contains a link to the relevant sub-view for that storage bin.
Clicking the card opens the sub-view, which displays a to-do list card with the relevant list. It’s then possible to use this card to add new items to the list or check items off when they’re no longer in the bin.
With this dashboard, I could quickly open the list for each storage bin, see a list of the items the bin contains, and add new items or remove items as necessary. It was exactly what I wanted to set up; the next phase was to make the correct dashboard open when scanning an NFC tag.
Shortcuts worked where Home Assistant didn’t
You can use NFC tags directly with the Home Assistant mobile app. Using the Tags menu, you can add new NFC tags by scanning them and giving them a name. I tried this method, but I wasn’t able to get Home Assistant to open a specific dashboard when a tag was scanned; it would just open the main Home Assistant page instead.
Instead of using Home Assistant directly, I got around the problem by using the Shortcuts app on my iPhone. You can use NFC tags to trigger automations in the Shortcuts app, and using the right actions, you can get a shortcut to open a specific Home Assistant dashboard.
In the Shortcuts app, select Automations, and tap the Plus (+) icon. Select NFC and choose Run Immediately. Tap Scan and hold your phone over the NFC tag.
Give the tag a name and tap Next. Choose Create New Shortcut, and search for the URL action. Enter homeassistant://navigate/ followed by the URL of the bin’s view in your dashboard. Search for the Open URLs action and add it below the first action. Tap the check mark to save the automation.
Now, when you scan the NFC tag, the shortcut should automatically open the Home Assistant app to the relevant list page. You can then see the list of items in the storage bin and add or remove items as necessary.
Tracking stuff has never been so easy
No more scrambling around the attic
Credit: Adam Davidson / How-To Geek
Going up to the attic to search through storage bins is never fun. Thankfully, by adding NFC tags, it’s become far less of a chore. I don’t even need to open the storage bins to quickly see what’s inside them; all I need to do is tap my phone on the NFC tag.
The system isn’t foolproof. If we forget to update what’s in a storage bin, the list can stop matching the actual contents, which means I have to resort to hunting through them again. As long as we keep the lists updated, however, it works well, and it’s really easy to add and remove items on the lists.
NFC tags can be really useful
The beauty of NFC tags is that they’re so cheap that you can buy a ton of them and stick them on every storage bin you own. It takes a little time to add the inventory to each list, but once it’s done, it really does make life so much easier.
