

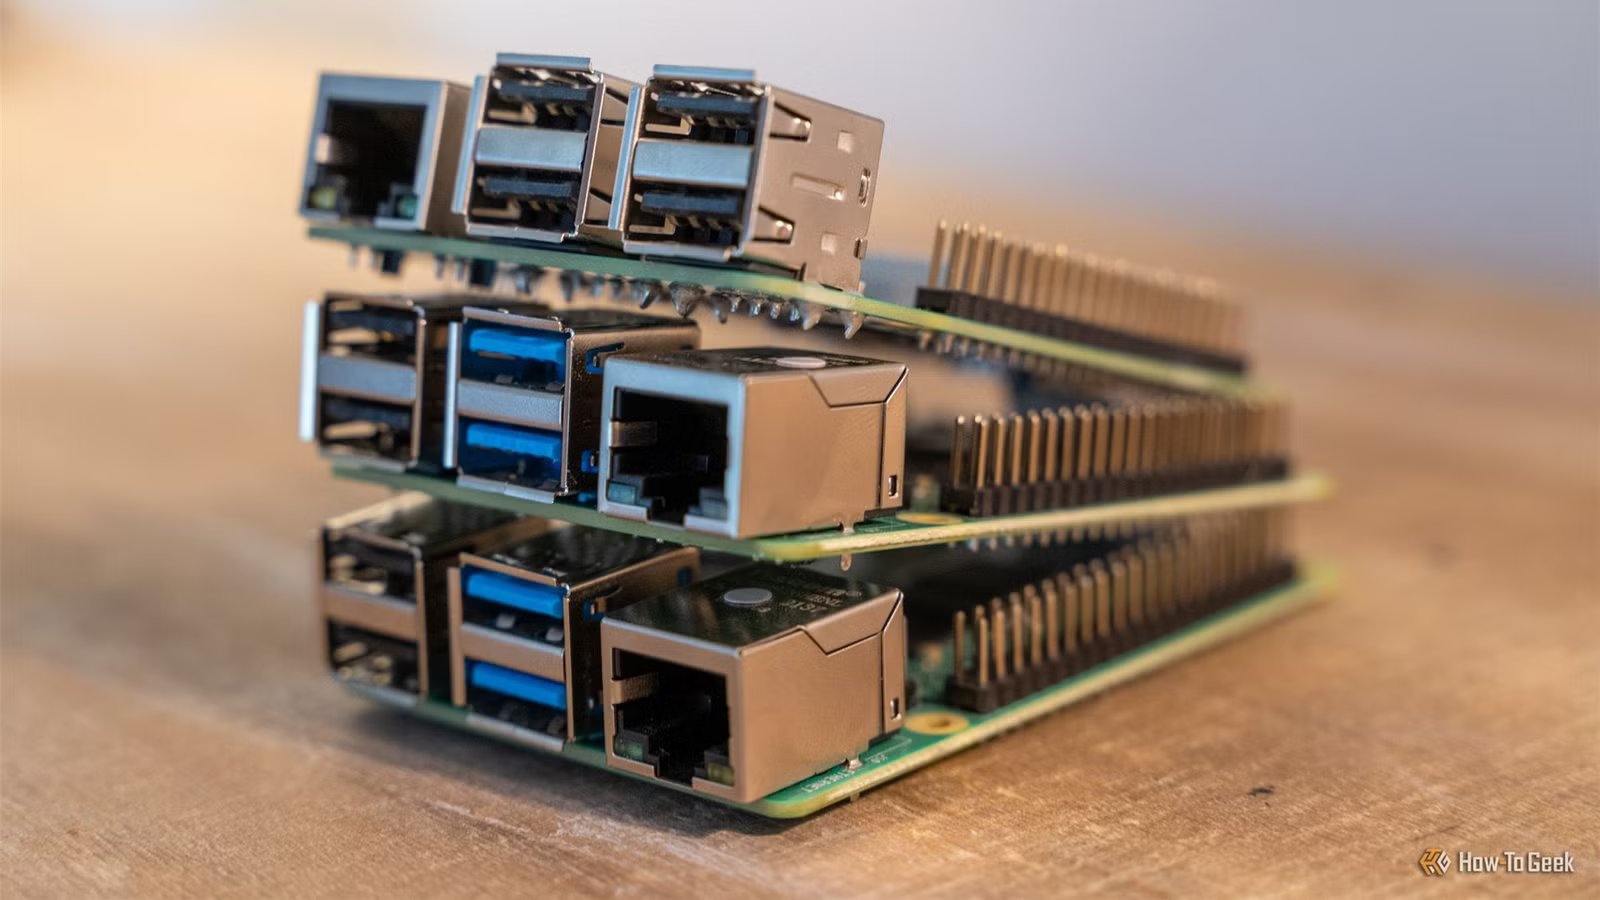
Pi-hole might be the simplest Raspberry Pi project of them all, while at the same time being one of the most impactful in terms of everyday usage. Once you’ve set Pi-hole up, leave your Raspberry Pi plugged in and it will quietly do its job without the need for a display, mouse, keyboard, or anything else.
What Pi-hole does and how it works
A set-and-forget DNS sinkhole
Pi-hole is a DNS sinkhole that allows you to filter out unwanted content on the internet. “DNS” stands for “Domain Name System” and it’s a method used to link IP addresses (like 127.0.0.1) with domains (like howtogeek.com). Some refer to it as a “phone book for the web,” which means it’s a simple way of getting around.
Every device that connects to the internet relies on a DNS server. If no DNS server is set, you’ll default to using the one provided by your internet service provider (ISP). Switching to a DNS service provided by Google (8.8.8.8) or CloudFlare (1.1.1.1) can speed up your perceived browsing speed by reducing latency when resolving host names, and also hides your DNS lookups from your ISP.
Pi-hole lets you go a step further by acting as an intermediary that runs on your local network. Any devices that are configured to use it for DNS purposes will depend on Pi-hole for any and all lookups. That means Pi-hole is responsible for resolving requests, and this is something you can use to your advantage.
Pi-hole runs on top of Raspberry Pi OS, but also many other operating systems. This allows you to use Pi-hole alongside other homelab tools. Once the service is running, you can access it on your local network via http://pi.hole/admin (or replace pi.hole with your Raspberry Pi’s IP address) from a web browser.
To make use of Pi-hole, point the device’s DNS setting to your server’s IP address (for example 192.168.0.100). To stop filtering traffic, revert DNS settings to the defaults. You can also do this on your router (to cover the entire network in one swoop), or allow Pi-hole to act as a DHCP server (where it assigns IP addresses on your network).
Pi-hole puts you back in control
Deploy it on all of your devices
Pi-hole works using allow-lists and block-lists. You can choose to use the default list, which will cover most bases. There are many lists out there if you would rather a more customized approach, with resources like Zach’s Lists making it easy to find something that suits.
In addition to unwanted web-based advertisements, Pi-hole can be used to regain a sense of privacy and ownership on devices that don’t allow you to customize browsers and extensions. My personal favorite example of this is the smart TV.
Smart TVs are awash with advertisements for streaming apps, shows, and other opportune promotions. These have to be delivered to you over the internet, and so by blocking those requests you can effectively break your TV’s ability to advertise to you. But that’s not all, since your TV is also watching you.
Credit: Sydney Louw Butler/How-To Geek / Hagerty Media
More specifically, your TV is watching what you watch. Technologies like Automatic Content Recognition (ACR) perform analysis on anything displayed on your screen. Your TV might even be sending screenshots of this content back to the manufacturer.
You can try to disable these features, but that’s not always possible depending on who manufactured your TV. But one thing you can (thankfully) do is change your TV’s DNS settings (or make the change on your router) to block these requests from resolving. It’s the best way to use a Raspberry Pi to combat manufacturer overreach.
Runs on (almost) any Pi
Two Pi-holes are better than one
Pi-hole only requires 512MB of RAM and 2GB of free space (though 4GB is recommended). That means it can run on a cheap $15 Raspberry Pi Zero 2W or an older Raspberry Pi 1 or 2. The newer the Pi, the more responsive the web interface will be, but the core functionality should be unchanged.
You can attempt to get as much out of the hardware by running an operating system like DietPi which foregoes a graphical interface altogether (not an issue since Pi-hole doesn’t need one). You’ll still be able to manage and make changes to your Pi-hole configuration using a web browser from any other computer on the network.
If you’re worried about redundancy, and you don’t mind spending a little money to nip downtime in the bud, you could even set up multiple Pi-hole servers and keep them synced. Given how cheap the prerequisite hardware is, the minuscule power draw, and the fact that you can run other services at the same time—why not?
Brand
Raspberry Pi
CPU
Quad-core 64-bit ARM Cortex-A53
The Raspberry Pi Zero 2 W is super tiny and super affordable, but it packs enough computing power for a variety of DIY projects. You can use it to create a handheld retro gaming console, for Klipper/Mainsail, a super compact home or media server, and more.
Brand
Raspberry Pi
Storage
SD card
The Raspberry Pi 3 B is a single-board computer (SBC) with a 1.2GHz quad-core processor and 1GB RAM. With Gigabit Ethernet and HDMI output, it makes for a great small, low-power device to run smart home or homelab services like Home Assistant, Homebridge, Pi-Hole, or other software on.
Brand
Raspberry Pi
CPU
Cortex-A72 (ARM v8)
With the Raspberry Pi 4 Model B, you can create all kinds of fun projects, and upgrade gadgets around your home. Alternatively, install a full desktop OS and use it like a regular computer.
Just setting up your first Pi-hole? Here are some things you should know before you start.
